
Learn
Brand
Save your logo and your links once. Pixeloop puts them on every poster you make, in the right spot and the right size, without you placing anything.


Where to find it
Two places, and they are the same settings:
- Your account, under Brand.
- The Brand kit and personalisation button while you are making a poster.

It opens a panel beside your work, so you can set your brand up without losing the prompt you were writing.
Step 1. Add your logo
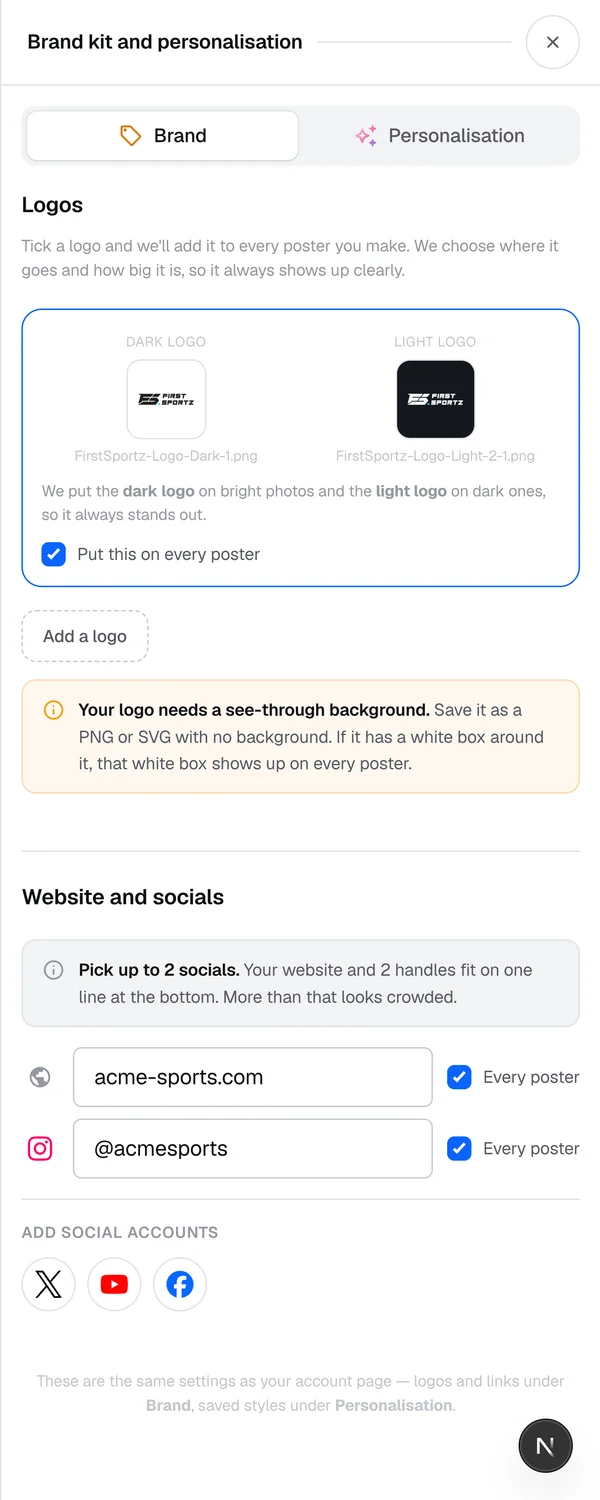
Click Add a logo and pick your file.
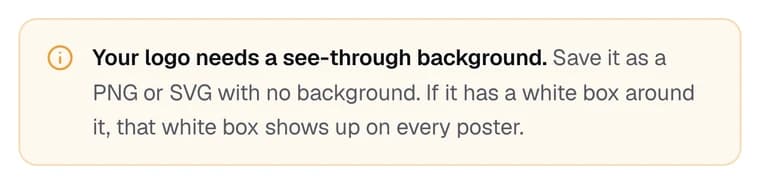
Your logo file needs a see-through background
This is the one thing people get wrong, so it is worth 10 seconds. If your file has a white box behind the logo, that white box lands on every poster.

Save your logo as a PNG or an SVG with no background. Pixeloop checks the file the moment you add it and tells you if the background is solid, so you find out before you make anything.
Step 2. Add both colours of your logo
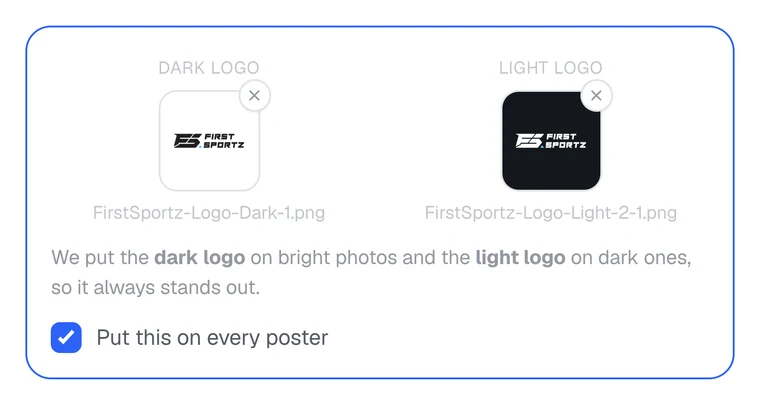
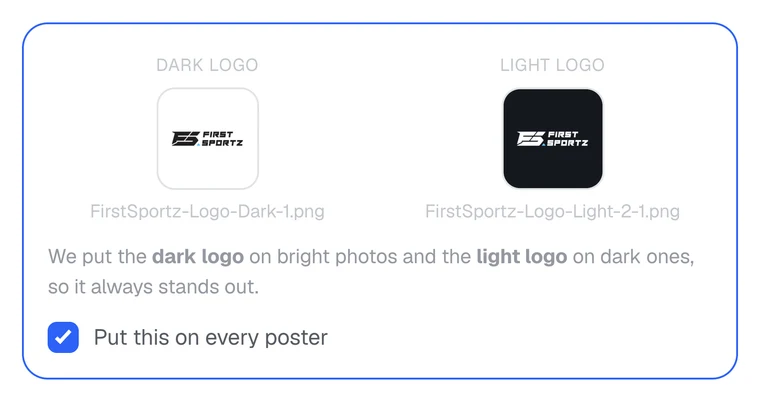
There are two slots and they do different jobs:
- Dark logo is your dark artwork. It goes on bright photos.
- Light logo is your white artwork. It goes on dark photos.

The second slot is optional. Skip it and your logo will vanish into some photos, so it is worth adding.
Step 3. Tick “Put this on every poster”
That tick is what switches the logo on. Nothing is added until you tick it, and you can untick it whenever you like.
Step 4. Add your website and socials
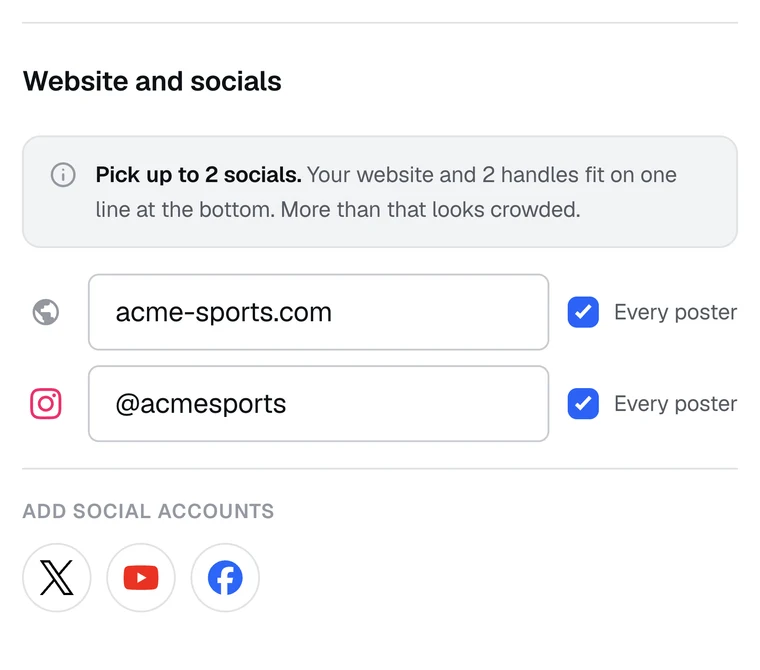
Type your website and tick Every poster. To add a handle, click one of the round buttons under Add social accounts, then fill it in and tick it the same way.
Stop at 2 handles. Your website and two handles sit on one line. Add more and they spill onto a second row and the poster starts to look busy. Pixeloop will still add them all if that is what you want.
Step 5. Switch it on when you make a poster

It starts off every time, so branding a poster is always your call. Tick it and generate as normal.
Where your logo and links go
You choose. Under Placement in your brand kit there are six spots to pick from: Classic, Left rail, Right rail, Cross, Header bar and Footer bar. Each one is a small picture of a poster showing where the logo sits and where the links run. Pick one and it is saved as your default.
- The AI keeps those spots clear. When it draws the poster it is asked to leave room where your logo and links will go, so they do not land on a face or across your headline.
- Then they go exactly there. Every poster, every time. No guessing.
- Which version. Bright corner gets your dark logo, dark corner gets your light one.
- How big. Sized to the poster, so a wide logo and a square one carry the same weight.
Want a different spot for just one poster? Before your first run, tick Add my brand under the prompt and use the Placement and Links controls beside it. Once you have a poster on screen, the same three things live in the Brand setting on the left, next to Model and Ratio. Pick there and it applies to that run only. Your saved default stays as it was.
How the links row looks
The row can carry a phone number and an email as well as your website and handles. Add them under Add contact details, the same way as a social. Under Placement and style you pick one of five looks for the row: Plain, Contact row, Single pill, Strip or Glass. The solid ones are drawn in black or white, whichever stands out best against the poster behind them.
Social handles show with the handle written out next to the icon. If you want just the icons, which is how many agency posters do it, untick Show my handles as text.
Switch parts off after the poster is made
Your brand sits on top of the poster as its own layer, so the picture underneath stays clean. Under a branded image, click Brand in the row of buttons. It opens a small menu with a switch for each part: Logo, Website, Contact and Socials. Switch one off to hide it on this poster, and back on to bring it back. The rest of the row closes up on its own. What you download is what you see.
Good to know
- It is free. Adding your brand uses no credits.
- You can keep up to 6 logos and tick whichever ones you want on right now.
- You need an account. Brand settings are saved to you, so this one is not available to guests.
- Removing a logo here does not delete your file. Hover a logo row and an × appears on each picture. The one on the left takes the whole logo off the list, the one on the right only clears the light version. Your uploaded file stays in your library either way.
- Your team shares one brand. If you are on a team, everyone’s posters carry the same logo and links.