

Learn
Personalisation styles
The prompt behind a poster you love runs to hundreds of words, and nobody retypes that. Save the poster instead, give it a name, and pick the name next time.
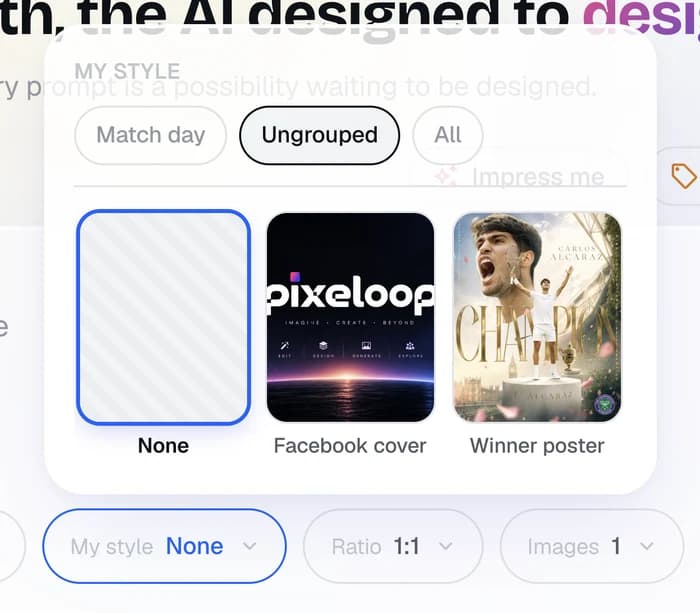
Where to find it
Same panel as your brand, second tab. Open it from your account under Brand, or from the Brand kit and personalisation button while you are making a poster.

Step 1. Upload a poster you like
Click Add a style and pick the image. A JPG, PNG, WebP or AVIF. It can be one you made earlier, or any design whose look you want again.
Step 2. Let Pixeloop describe it
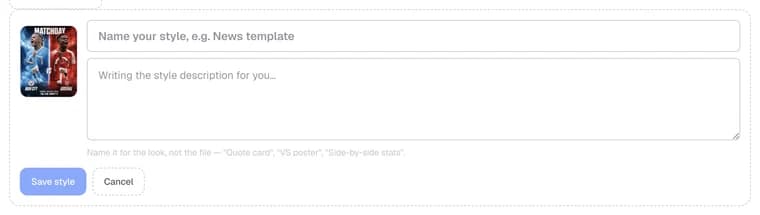
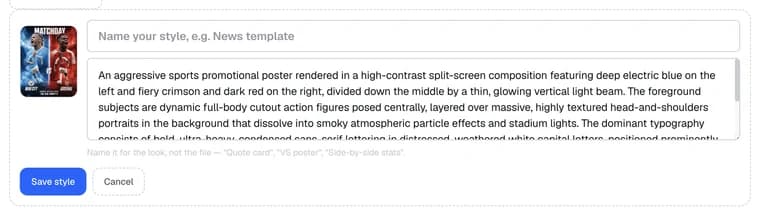
You do not write the description. Pixeloop reads the poster and writes it for you, which takes a few seconds. You can edit it or type over it while it works.
Step 3. Name it for the look
Name it for the kind of design, not the file. Quote card, VS poster, Side-by-side stats. Months from now that name is all you will have to go on, so a file name tells you nothing.
Then hit Save style. Nothing is saved until you do, so a style never turns up in your list without a name.
Step 4. Use it
On the generator, open My style next to Ratio, pick your style, and write your prompt as normal.
Two things change the moment you pick one, and Pixeloop tells you both:
- The model switches. Only one model is proven to actually copy a look rather than politely ignore it, so Pixeloop moves you to that one.
- The shape may change. That model only makes a few shapes, so if you were set to a tall one it snaps to the nearest it can do.
What actually gets sent
Click Show prompt on any saved style to read its description. That text goes out with every prompt you write using that style.
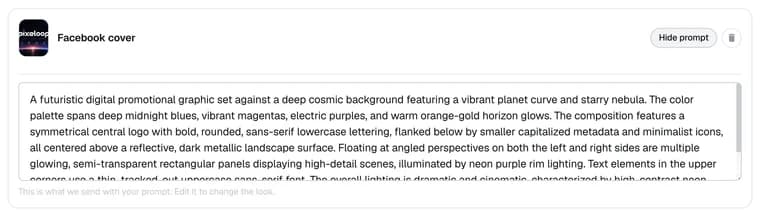
So edit it. Take out anything you do not want on every single poster, like a player’s name or a date. Change a colour in the words and your next poster changes with it.
Shelves, once you have a few
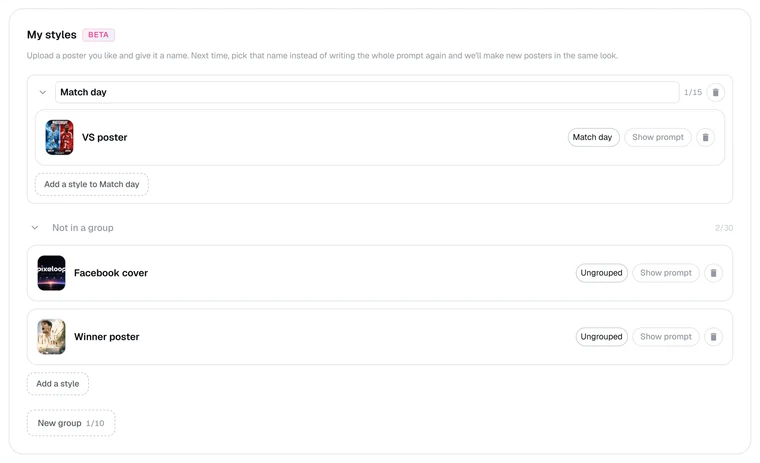
- New group makes a shelf and lets you name it.
- The small button on each row moves that style onto a shelf.
- In the picker, the chips along the top switch between shelves, so you are never scrolling a wall of posters.
Deleting a shelf does not delete the styles on it. They drop back to Not in a group.
No posters of your own yet?
Take one from the inspiration wall. Open any design there and click Add to style.

You are asked to agree first, because the design belongs to whoever made it.
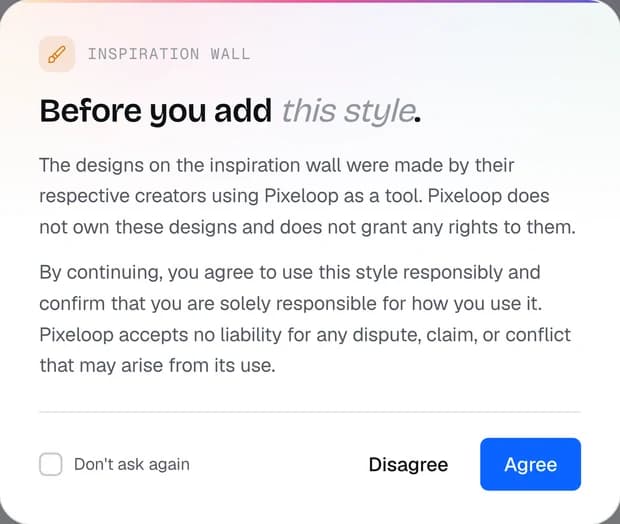
It arrives as a draft with the original prompt already filled in as the description. Read that before you save. Wall prompts name real players, teams and dates, and whatever you leave in there turns up on every poster you make with that style.
Good to know
- No extra credits. A style costs the same as a normal generation.
- A style uses one of your two reference pictures, so you can still add one image of your own alongside it.
- Room for 150 styles. Up to 10 shelves, 15 styles on each, and 30 that are not on a shelf.
- Deleting a style does not delete the poster. The image stays in your library.
- You need an account, and if you are on a team everyone shares the same styles.